

Hello World 👀
This is my first blog on Hashnode , I saw many people joining here So, I found quite interesting to explore my field in writing blogs.😁 I am taking my 30 day challenge to revise all my JavaScript Concepts.
Day - 1
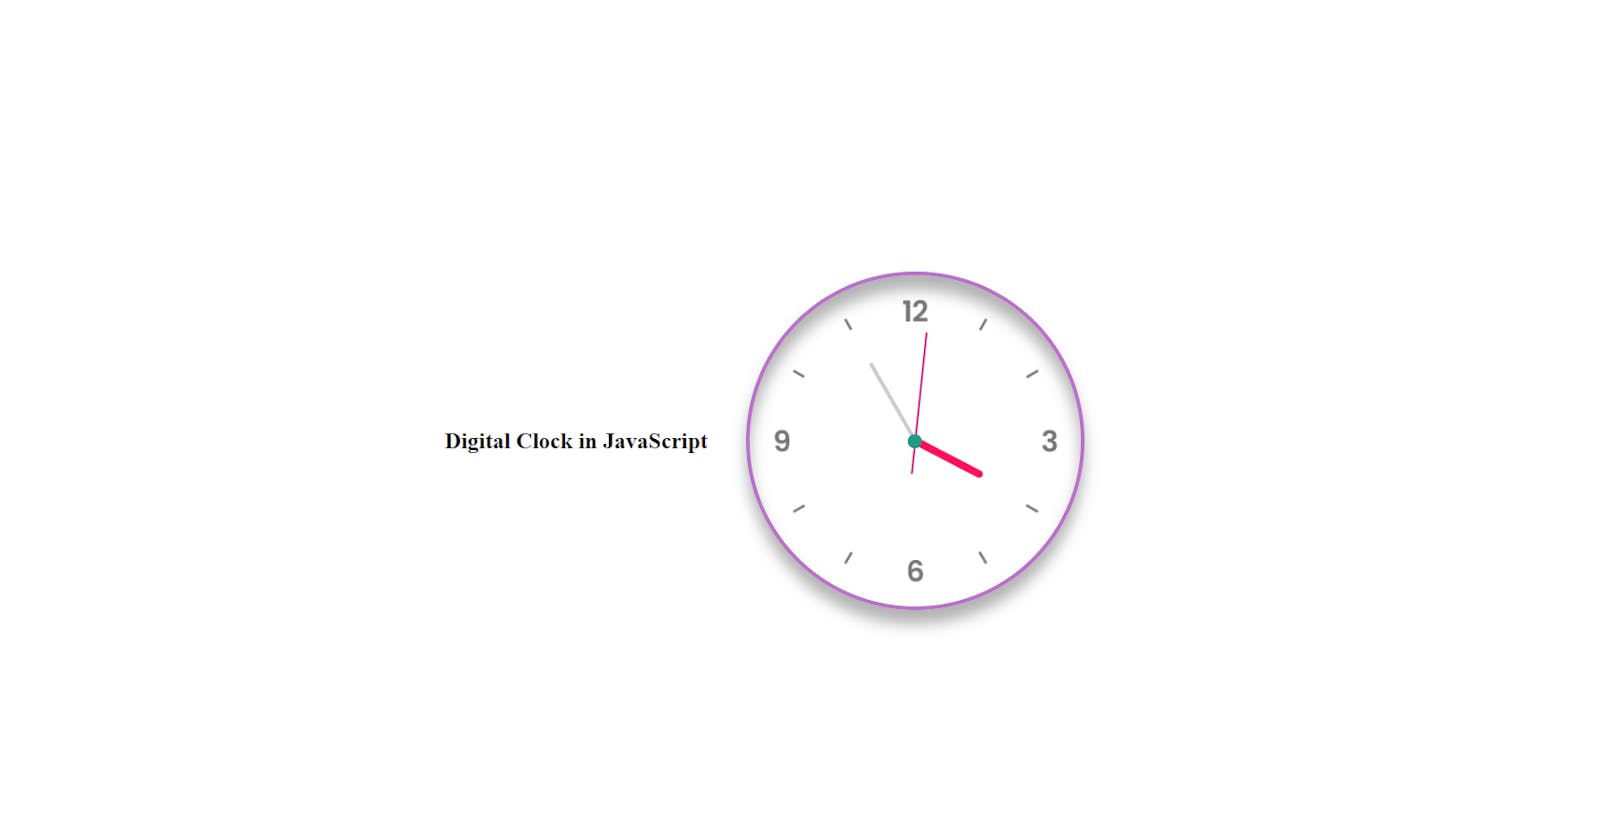
I made a Digital Clock in JavaScript 😉
Welcome to my blog!
Today, Clocks are a useful element for any UI if appropriately used. For example, clocks can be used in sites where time is the primary concern, like some booking sites, or apps show arriving times of trains, buses, flights, etc. The clock is basically of two types, Analog and Digital. I wanted to see how easy it is to create an analog one with basic HTML, CSS, and JavaScript. So, in this article, I will show you how you can create a simple clock UI following 5 steps.
Step 01 🤩 Create an index.html file and write the code below.
<!DOCTYPE html>
<html lang="en">
  <head>
    <meta charset="UTF-8" />
    <meta http-equiv="X-UA-Compatible" content="IE=edge" />
    <meta name="viewport" content="width=device-width, initial-scale=1.0" />
    <link rel="stylesheet" href="style.css" />
    <title>Digital clock</title>
  </head>
  <body>
      <h2>Digital Clock in JavaScript</h2>
    <div class="clock">
      <div class="hour">
        <div class="hr" id="hours"></div>
      </div>
      <div class="min">
        <div class="mn" id="mn"></div>
      </div>
      <div class="sec">
        <div class="sc" id="sc"></div>
      </div>
    </div>
</body>
</html>
Step 02 Create a style.css file and write the code below. This is for creating the background.😍
margin: 0;
padding: 0;
box-sizing: border-box;
}
body
{
display: flex;
justify-content: center;
align-items: center;
min-height: 100vh;
background: #fff;
}
h2{
    margin-right:40px;
}
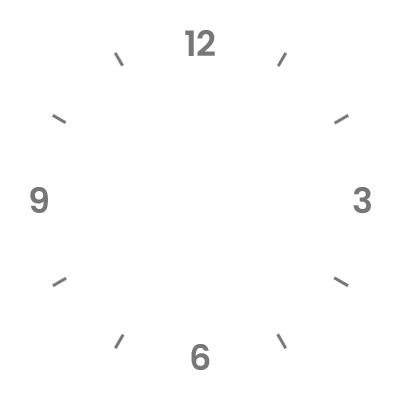
Step 03 Now you can add the clock.png image and see the magic. 😵💫

.clock
{
width: 350px;
height: 350px;
display: flex;
justify-content: center;
align-items: center;
background: url(clock.png);
background-size: cover;
border: 4px solid #b872c7;
border-radius: 50%;
box-shadow: 0 -15px 15px rgba(255,255,255,0.05),
inset 0 -15px 15px rgba(255,255,255,0.05),
0 15px 15px rgba(0,0,0,0.3),
inset 0 15px 15px rgba(0,0,0,0.3);
}
.clock::before
{
content: '';
position: absolute;
width: 15px;
height: 15px;
background: #249984;
border-radius: 50%;
z-index: 10000;
}
Step 04 Create hour hand, minute hand, and second hand.🕔👌
.clock .hour,
.clock .min,
.clock .sec
{
position: absolute;
}
.clock .hour, .hr
{
width: 160px;
height: 160px;
}
.clock .min, .mn
{
width: 190px;
height: 190px;
}
.clock .sec, .sc
{
width: 230px;
height: 230px;
}
.hr, .mn, .sc
{
display: flex;
justify-content: center;
/* align-items: center; */
position: absolute;
border-radius: 50%;
}
.hr:before
{
content: '';
position: absolute;
width: 8px;
height: 80px;
background: #ff105e;
z-index: 10;
border-radius: 6px 6px 0 0;
}
.mn:before
{
content: '';
position: absolute;
width: 4px;
height: 90px;
background: #ccc;
z-index: 11;
border-radius: 6px 6px 0 0;
}
.sc:before
{
content: '';
position: absolute;
width: 2px;
height: 150px;
background: #dc1784;
z-index: 12;
border-radius: 6px 6px 0 0;
}
Step 05 Again move to the index.html and add the time to the clock using javascript.👻
<script>
      const hours = document.querySelector("#hours");
      const mn = document.querySelector("#mn");
      const sc = document.querySelector("#sc");
      const deg = 6;
      setInterval(() => {   //
        let day = new Date();
        let hrs = day.getHours() * 30;
        let mins = day.getMinutes() * deg;
        let secs = day.getSeconds() * deg;
        hours.style.transform = `rotateZ(${hrs + mins / 12}deg)`;
        mn.style.transform = `rotateZ(${mins}deg)`;
        sc.style.transform = `rotateZ(${secs}deg)`;
      });
    </script>
Okay people . So , we are done with the digital clock 🤭
Learning we cover: In this project, we learned about some basics :
- querySelector - method returns the first element that matches a specified CSS selector(s) in the document. we can also use document.getElementByID instead of querySelector()
- querySelectorAll( ) will return all the elements that matches specified Css selector .
- setInterval() - method calls a function or evaluates an expression at specified intervals (in milliseconds). | here we are using only setInterval because we don't need to stop the clock rotation if we want to make it stop we can | use clearInterval() which will make the clock stop if we give a particular time in milliseconds.
Done! 🤯

This is my first blog . Hope you like it. Wait for Day -2 🤭